How to Paint an Interior Wall: Prep, Technique and Common Mistakes
The finished look of an interior paint job comes 80 percent from what happens BEFORE the roller touches the wall. Surface prep, tool choice, sequence of steps. Without it, even the best 75 $ paint shows roller marks, ragged edges and uneven patches within the first 6 months. Here's how to paint an interior wall like a pro, with the prep that changes everything, the precise techniques, and the mistakes still visible 5 years later.
Prep: 90 percent of the work
This is the phase amateurs skip and pros respect religiously. On a 2-day project, the pro spends a full day prepping and half a day painting. The amateur spends 2 hours prepping and a full day painting.
Clean the surface. Wash with TSP (trisodium phosphate) or soapy water, dry 4 to 6 hours. In a kitchen or bathroom, the wall is greasy (cooking oils, soap) and paint won't bond without cleaning. This is the #1 reason for failed kitchen repaints.
Patch holes and cracks. Joint compound for small holes (nails, screws, micro-cracks), epoxy resin for larger ones (door handle that hit the wall). Let dry, sand with 220 grit, brush off the dust.
Light sanding. 220-grit paper or a fine sanding block across the whole surface, especially if the existing paint is glossy. Creates the mechanical bite that helps new paint adhere. 10 minutes of sanding = 5 extra years of wall life.
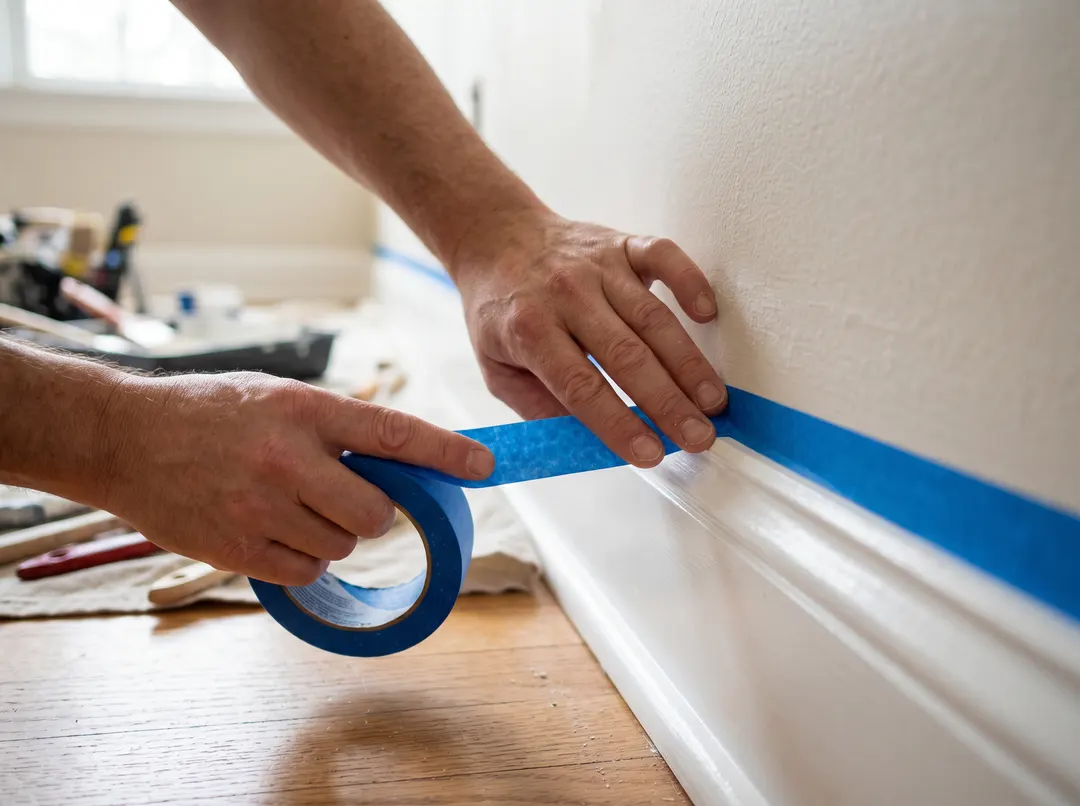
Mask with quality tape. The 3 $ tape that bleeds paint underneath = ragged edges. The 8 $ tape (FrogTape or ScotchBlue Edge Lock) creates a watertight seal. Investing here saves hours of touch-ups later.
Prime if needed. Never-painted wall, dark wall going lighter, patched wall, or stained wall: 1 coat of primer mandatory. Otherwise the topcoat needs 3 coats instead of 2 and the cost explodes.
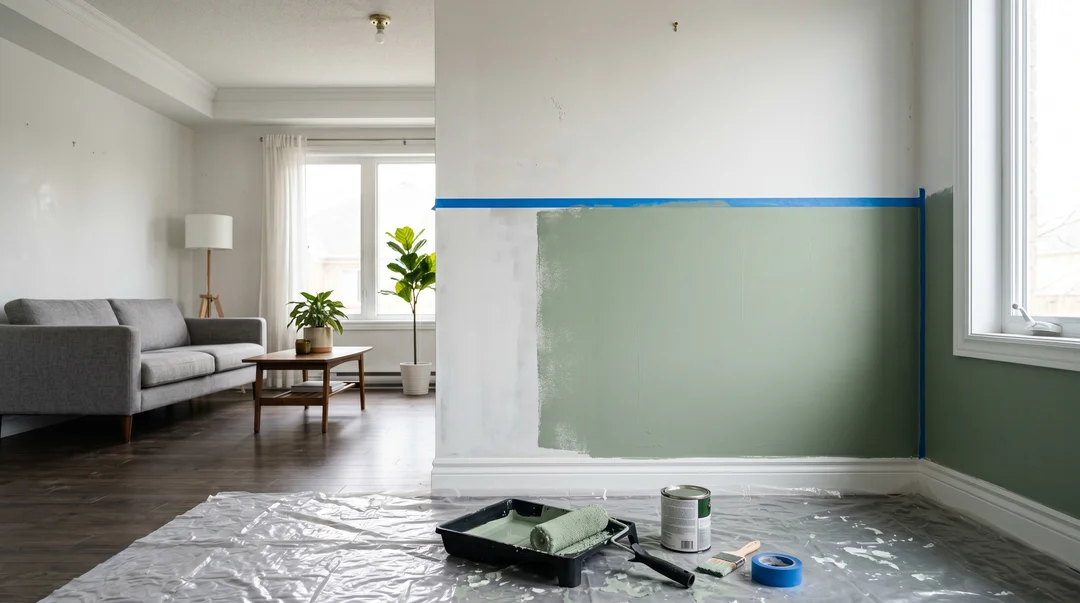
Protect floors and furniture. Plastic drop sheet under a cotton drop cloth (plastic alone is slippery). Furniture moved to the centre, covered with a sheet.
This phase takes 2 to 4 hours for an average room. Non-negotiable.
The tools that make the difference
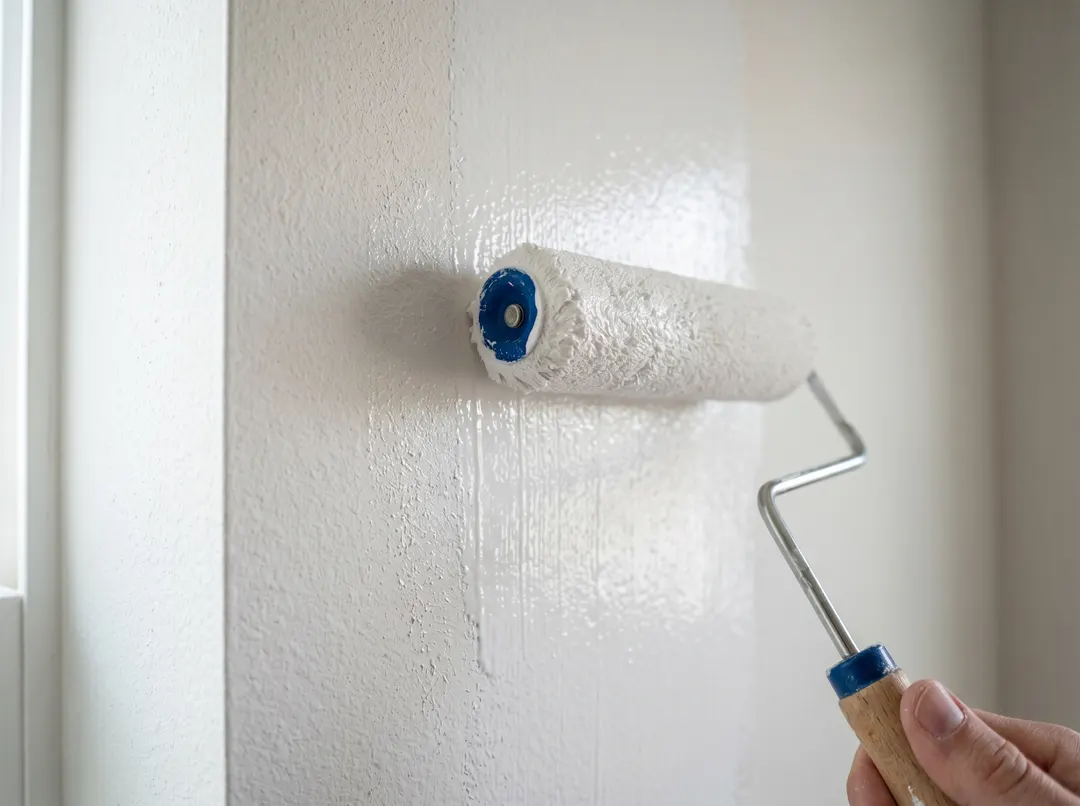
Roller: 10 mm for smooth walls, 12 mm for textured walls. Buy a quality roller (dense microfibre, steel frame) at 12 $ to 18 $ rather than a 4 $ disposable. The cheap roller sheds fibres into the paint and leaves visible marks. Prime the roller by lightly wetting it before the first load (wring nearly dry) to activate the fibres.
2.5-inch angled brush for cut-ins. Wooster Pro Yachtsman or Purdy XL Glide in synthetic are the standards. 18 $ to 28 $. A 4 $ brush sheds bristles into the paint (visible forever) and won't hold a straight line. For acrylic latex paints, use a synthetic brush (natural-bristle brushes swell in water and run).
1.8 to 3 m telescoping pole. Lets you paint the ceiling and high wall sections without a stepladder, and most importantly, applies constant pressure (the secret to "no roller marks"). 25 $ to 50 $.
Lightweight articulated step ladder. For cut-ins near the ceiling and trim. 100 $ to 200 $ for a sturdy model. One-time investment, lasts 25 years.
Paint tray + roller grid. Disposable tray is fine. The grid is useful for longer-nap rollers (12 mm) to remove excess evenly. 15 $ to 25 $.
Disposable gloves and goggles. For oil-based or shellac primers (Kilz, BIN), prolonged skin contact isn't pleasant.
Total basic tool budget: 200 $ to 300 $. Reusable for the next 10 years of painting.
Pro techniques
Loading the roller. Dip the roller in the tray, roll 4-5 times across the grid to spread paint evenly. No dripping. No dry patches on the roller. The load is right when you feel slight resistance running your hand above it.
The W or M motion. On a roughly 1 m² section, trace a W or an M about 20 cm from the floor, then fill the spaces in with vertical passes. Move to the next section. Never paint in vertical lines only (visible marks), nor horizontal lines only (same).
Wet edge. Always paint the next section before the previous one dries (usually within an hour). If paint has started drying when you come back, you create visible overlap lines ("lap marks"). That's why you paint a whole wall in one pass, no pause.
Cutting in with a brush. Before the roller, cut in all the edges: ceiling, baseboards, corners, frames. Brush 70 percent loaded (not full), 30 to 50 cm strokes, controlling wrist pressure. The trick: paint a 5 cm border into the wall, then the roller comes over to blend the join.
Order in the room. Ceiling first, then walls, then trim and baseboards last. Reverse it and you splatter the trim or have to mask twice.
Two coats minimum, almost always. A single coat shows the previous paint through unless the colour is identical and the wall is in perfect shape. Coat 1 dries fully (4 to 6 hours with modern acrylic latex), coat 2 over it on the same day if possible.
Which paint to choose
Acrylic latex (water-based) for 95 percent of interior walls. Dries in 1 to 2 hours, recoatable in 4 to 6, cleans up with water, low odour, durable. The industry standard for 20 years.
Water-based alkyd (hybrid). Look and durability of oil, water cleanup. More expensive (60 $ to 90 $/gallon vs 35 $ to 60 $ for latex), worth it for interior doors, repainted cabinets, trim that takes heavy wear.
Oil-based or shellac primer (Kilz Original, BIN). To block stains (water, smoke, marker), wood knots that bleed through, and stubborn odours. 25 $ to 40 $/gallon.
Finish by room:
- Matte for ceilings and bedrooms: hides wall imperfections, low washability
- Eggshell for living rooms, dining rooms, adult bedrooms: balance of hide + washability
- Satin for kitchens, bathrooms, hallways: washable, slightly reflective, hygienic
- Semi-gloss for trim, doors, baseboards: very washable, highlights detail
- High-gloss for occasional accent elements: rare on full walls
Reliable brands in Quebec: Benjamin Moore (Regal Select, Aura (premium), Sico (entry and mid-range, good Quebec value), Sherwin-Williams (Emerald, Cashmere) premium), Behr Premium Plus (accessible mid-range). Avoid sub-25 $/gallon brands: poor coverage, need 3 coats, stain quickly.
Average total cost to paint a 12 x 12 ft room (ceiling + walls): 150 $ to 280 $ in paint (2 gallons wall + 1 gallon ceiling + primer if needed) + 50 $ to 100 $ in consumables (tape, drop sheet, sandpaper). Total 200 $ to 380 $ per room, plus time.
Mistakes that show on the finished wall
Visible roller marks when light grazes the wall. Cause: paint applied too thick in one pass, or roller insufficiently loaded at the end of a section. Fix: 2 thin coats rather than one thick one, and always finish a section before reloading.
Paint ridges at corners. Visible buildup in inside corners when the brush or roller deposits too much. Cause: not wringing out enough. Fix: pass a dry brush over the corner immediately to spread.
Ragged edges at ceiling or baseboards. The brush slipped or the tape let paint bleed through. Fix: quality tape (FrogTape), pull tape while paint is still tacky but not wet (about 45 minutes after application), at 45° from the wall.
Colour that changes with light angle. Normal for matte paints, abnormal for satin. Cause of anomaly: paint dried at uneven temperatures (drafts, direct sun on one section, etc.). Fix: paint when the room is at stable temperature and close windows during drying.
Undercoat showing through. Visible when going from dark to light without primer. The only fix: paint a 3rd or 4th coat, OR strip and start over with primer. Better to prevent: systematic primer when lightening a room.
Brush marks in trim. Bad-quality brush or overloaded. Fix: fine synthetic brush (1.5 in) for detail, long strokes in one pass.
To plan the project alongside other work and avoid repainting before cabinets or trim are finalized, see the 7 kitchen renovation mistakes. And keep wall inspection in your annual home maintenance calendar to catch cracks before they spread.
When the project goes past one or two rooms or requires climbing high (stairwell, cathedral ceiling), ask 3 painters for quotes. The method for comparing contractor quotes applies. A home renovator who also paints can be useful when several trades are involved in the room. And before picking the colour, look at the current interior design trends.
Frequently Asked Questions
How many gallons of paint for an average room?
For a 12 x 12 ft room with an 8 ft ceiling: 2 gallons for the walls (covering about 350 sq ft per gallon in 2 coats), 1 gallon for the ceiling. If the room has many openings (doors, windows), reduce to 1.5 gallons for walls. Always buy 0.5 gallon more than the calculation for future touch-ups and keep the exact colour code in your maintenance journal.
Can you paint over wallpaper?
Technically yes but it rarely works well. If the paper is firmly stuck and smooth, 1 coat of oil-based sealing primer (Kilz Original) + 2 coats of paint can work. If the paper has bubbles, peeling corners or vinyl texture, removing it is the best option. The test: press hard on the paper with a wet finger for 30 seconds; if it lifts, remove it.
How long before putting furniture back?
24 hours minimum after the last coat for light furniture, 48 to 72 hours for heavy furniture touching walls. Latex paint is dry to the touch in 1 hour but fully cures in 14 to 30 days. During that window, avoid washing the wall or taping for touch-ups.
Do you need a permit to paint the interior?
No, never. Interior painting touches no structure, plumbing or electrical, so no municipal permit. A permit only becomes necessary if you touch regulated elements at the same time (load-bearing wall, plumbing, etc.).
How to avoid paint drips?
Three causes: paint applied too thick (reduce roller load), roller too loaded at the end of a section, or 100 percent latex paint that spreads too much when overapplied. Fix: always apply 2 thin coats rather than one thick one, and roll on the tray grid before each pass to adjust the amount.
Ready to start your project?
Describe your work, choose how many quotes you want to receive, and compare RBQ-certified contractors near you. Free and no commitment.