Mortar in a Heritage Home: Why It Matters More Than You Think
It hides in plain sight. Between the bricks or stones, a grey line, sometimes white, often crumbling. Yet mortar is at the heart of any masonry system's health. In an old house, treating it as simple filler opens the door to damage that can run into tens of thousands of dollars.
This guide is for heritage homeowners who have noticed crumbling joints during a preventive masonry inspection, are considering repointing, or have already experienced a repair that made things worse. Because yes: a poorly done repointing job is worse than none at all.
What Mortar Actually Does
In historic masonry, mortar plays several simultaneous roles, and none of them are optional.
It distributes loads. The weight of a wall doesn't rest uniformly on each brick or stone: it spreads through the network of joints, which act as load-absorbing cushions. A collapsed joint creates stress concentration points that will eventually crack the adjacent masonry.
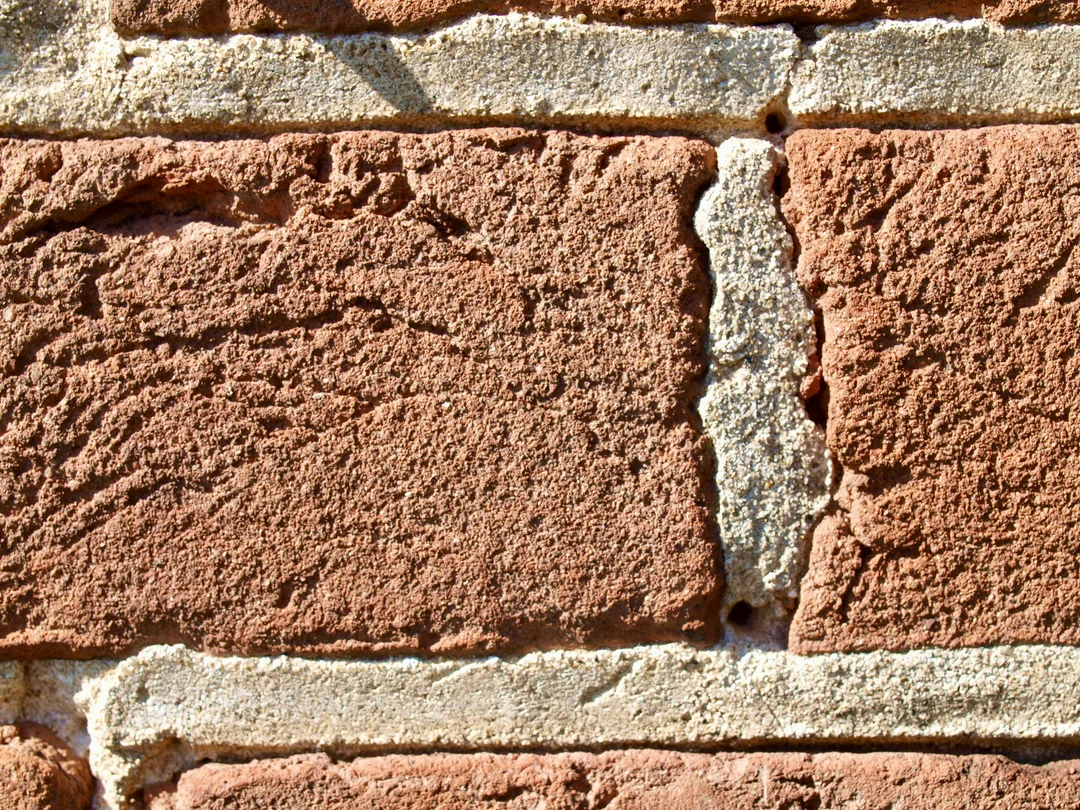
It regulates moisture. Old walls function on a principle of active capillarity: water that enters through surfaces must be able to evaporate through the joints. Mortar is deliberately more porous than the brick or stone, it draws in moisture, holds it, then releases it to the air. It's a protection-through-sacrifice mechanism.
It absorbs movement. Every freeze-thaw cycle, every thermal variation imperceptibly shifts the materials. Mortar, softer than the masonry, accommodates these micro-movements and prevents the bricks or stones themselves from cracking.
This understanding is fundamental. Mortar is an intentionally sacrificial element. It is meant to degrade slowly (much more slowly than the masonry) in order to protect it.
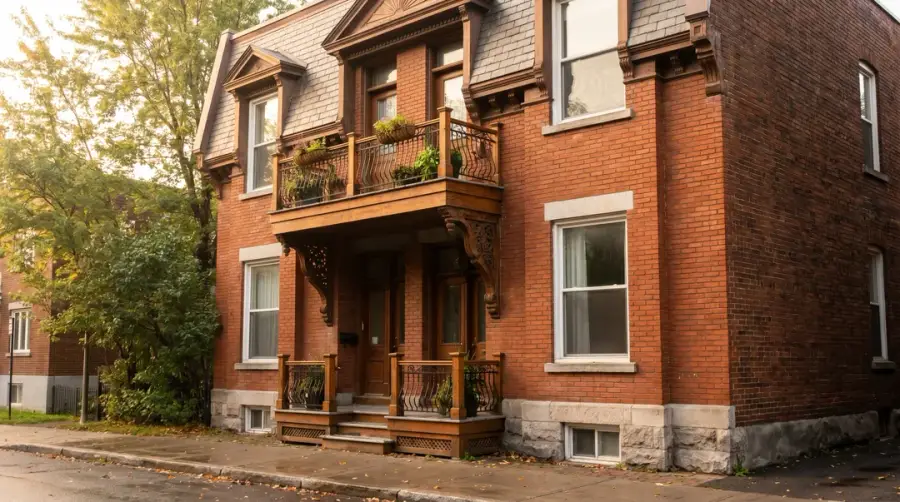
Original Mortar: A Deliberate Formula
The masons who built Quebec's 18th, 19th, and early 20th century homes weren't mixing just anything. Their mortars, based on air lime or natural hydraulic lime (NHL), were formulated with specific logic. The sand-to-binder ratio varied by application, exterior joints, interior joints, foundations. No Portland cement: this industrial product didn't exist for most of these structures, or was used very sparingly. Sand granulometry was chosen to match the surface texture of the local stone or brick.
The result: a mortar with a compressive strength of 1 to 3 MPa, roughly ten times weaker than modern Portland cement. This apparent weakness is precisely the strength of the system: a mortar softer than the masonry cracks first, can be repaired easily, and doesn't destroy what surrounds it.
The Fatal Error: Portland Cement on Historic Masonry
This is the most widespread and most destructive mistake made by homeowners (or unspecialized contractors) repairing an old house.
Standard Portland cement (Type GU or Type I) has a compressive strength of 20 to 40 MPa. Applied to brick or limestone whose strength is 5 to 15 MPa, it creates a mechanical trap. The cement mortar hardens and contracts differently from the masonry. Freeze-thaw cycles create internal stresses that the cement refuses to absorb. Those stresses transfer to the brick or stone, which spalls, cracks, and disintegrates. Simultaneously, the impermeable mortar blocks moisture from escaping, and it accumulates behind the joints. Water frozen in winter blows the bricks apart from the inside.
The damage is often invisible for five to ten years. Then it becomes irreversible. A brick that has spalled or delaminated because of too-hard mortar cannot be repaired, it must be replaced, which is expensive and difficult to do while maintaining visual coherence.
Mortar must always be softer than the materials it joins. That is the fundamental rule, without exception.
The 6 Most Common Repointing Mistakes
Even with the right material, execution can compromise the result. Here are the errors specialists see most often on heritage homes.
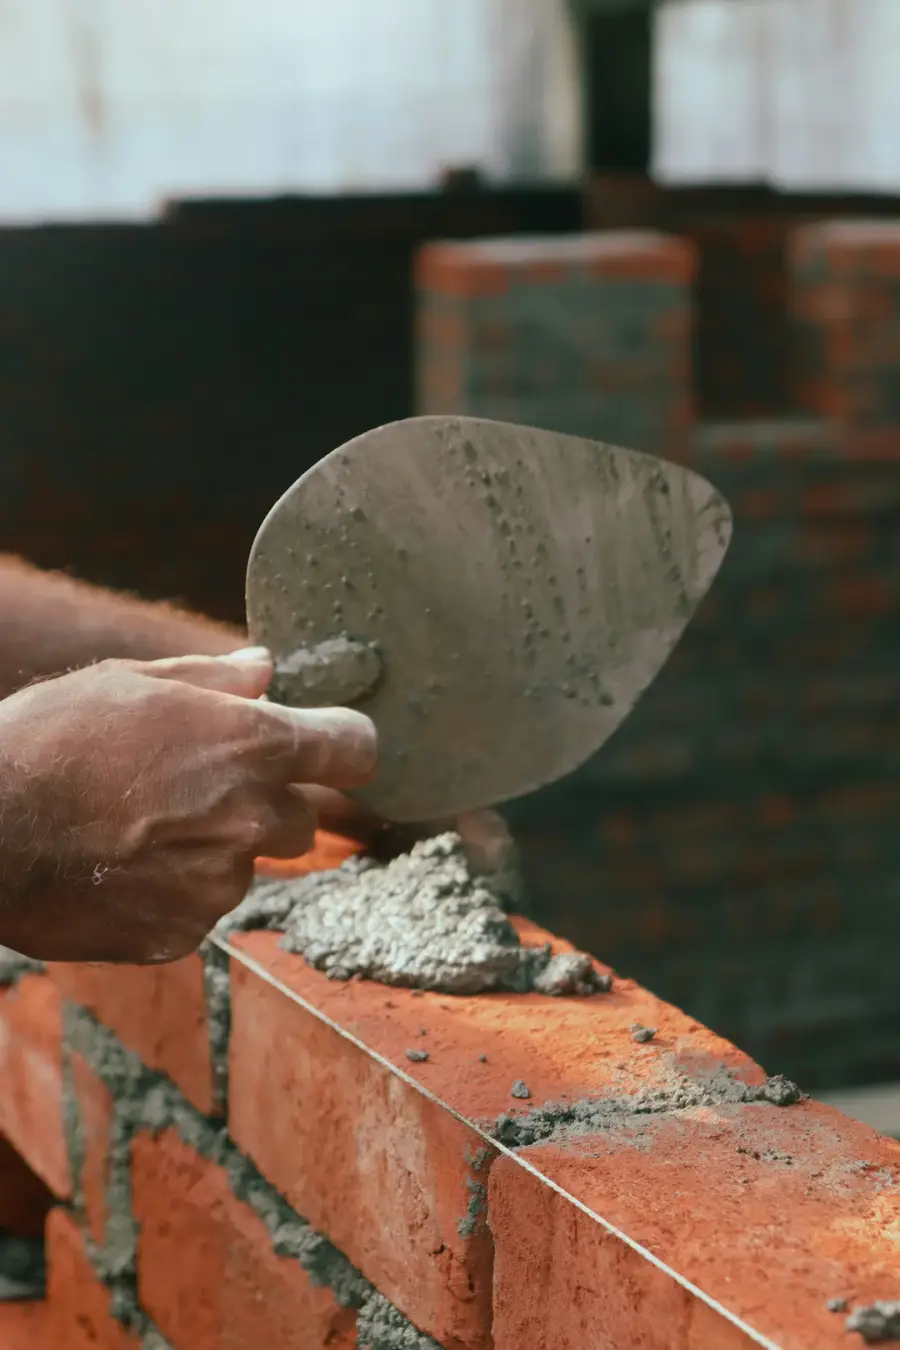
Not removing enough of the old joint. A proper repointing job requires removing degraded mortar to a depth of at least 20 mm, ideally 25 to 30 mm, or roughly 2.5 times the joint thickness. If you apply new mortar over the old, adhesion will be poor and the new joint will detach within a few years.
Using an angle grinder on historic masonry. The angle grinder is the fastest way to cut out a joint, and the most dangerous on old masonry. The vibration and heat damage fragile bricks. Precision is insufficient, and brick edges are frequently chipped. Cold chisel and hammer for historic masonry: that is the only rule that holds.
Working in cold or excessive heat. Natural hydraulic lime needs specific conditions to harden properly. Below 5°C, lime doesn't carbonate and the joint stays friable. Below 10°C for the first three days, initial set is compromised. In direct July sun on a south-facing wall, mortar dries too fast, without strength. In Quebec, the ideal season for repointing is May-June and August-September.
Not wetting the masonry before application. Dry brick and stone absorb water from fresh mortar like a sponge, leaving the binder without water to set. The result is a friable joint that crumbles to dust after a few moisture cycles. Before any repointing, thoroughly wet the masonry, then wait until it's saturated but with no surface water.
Closing joints without proper tooling. Joint profile is not an aesthetic issue, it's a functional one. A recessed joint, slightly behind the brick face, sheds rainwater. A proud or poorly finished joint retains water, which enters by capillarity. Observe the original joints and reproduce the same profile.
Repointing only part of a wall. Partial repointing creates zones of differential rigidity in the wall. Thermomechanical stresses concentrate at the boundary between old and new mortar, generating cracks. If a wall needs repointing, it's better to repoint a complete face or panel rather than patching in spots.
Choosing the Right Mortar for a Heritage Home
For houses built before 1930 (and often through the 1950s outside cities) the reference mortar is based on natural hydraulic lime (NHL). NHL 2 suits very fragile masonry, soft limestones, and sheltered environments. NHL 3.5 is the universal choice for most historic Quebec masonry, brick and limestone. NHL 5 is reserved for sandstone or granite masonry and highly exposed locations.
These products are available from specialty restoration material suppliers, not at general hardware stores.
For post-1930 masonry with ordinary Portland cement, a Type N or Type O repointing mortar (softer than Type S or M) is generally appropriate.
A simple field test can help orient the diagnosis: apply a few drops of vinegar to the joint. If it fizzes, there's calcium carbonate, the mortar is likely lime-based. If nothing happens, it's probably cement. This test is indicative only; lab testing is more reliable for important decisions.
When to Call a Specialist
For small areas of one to two square metres, a capable DIYer with the right materials and patience can do good work. Beyond that, and in certain specific contexts, a masonry contractor specialized in heritage restoration is essential: an entire wall or complete facade to repoint, cut stone masonry (soft limestone, sandstone), structural cracks present beyond just joint cracks, any masonry under official heritage designation, or persistent moisture despite recent repointing, a sign of an upstream problem like drainage failure, damaged sills, or failing cornices.
Restoration masons in Quebec are often certified through Restauration Québec or the Association de la Construction du Québec with historic masonry specialization. Ask for references and, if possible, visit previous job sites.
Frequently Asked Questions
What's the difference between repointing and surface patching?
Repointing means removing the degraded old mortar to full depth and applying new mortar throughout. Surface patching only applies a thin coat of mortar over the old joint without removing it. Patching can mask a problem temporarily but fixes nothing, and often creates a delamination interface that accelerates degradation. Always repoint to full depth.
Can you blend natural hydraulic lime with Portland cement for an intermediate mortar?
Yes, hybrid blends exist and are used in specific contexts. But on fragile old masonry, any Portland cement addition increases rigidity and the risk of stress transfer to the masonry. It's better to use straight NHL 3.5 and accept slightly lower durability than to risk damaging irreplaceable masonry.
How do I know if the mortar needs replacing?
Clear signs: joint crumbles or turns to powder when touched, visible recession behind the brick face of more than five to six millimetres, persistent moisture on the adjacent interior wall, bricks that move slightly under pressure. If the mortar is rock-hard but bricks are beginning to spall, that's the classic sign of over-hard Portland cement mortar.
Is repointing covered by heritage restoration grant programs in Quebec?
In some cases, yes. Heritage Canada's PRAM program, and several Quebec municipal programs (notably in Montreal, Quebec City, and Trois-Rivières) offer grants for masonry restoration work on recognized properties. Check with your municipality and the Ministère de la Culture.
How long does an NHL lime repointing job last?
Done correctly, with the right materials and in appropriate climatic conditions, a natural hydraulic lime repointing can last thirty to fifty years, sometimes longer. Durability also depends on the overall building's maintenance state: rain drainage, cornices, window sills.
Ready to start your project?
Describe your work, choose how many quotes you want to receive, and compare RBQ-certified contractors near you. Free and no commitment.